Home
How This Happened
Getting It Here
I Bought It
It Lands In The USA
It's here!
First Year Fun
So Now What?
Additional Parts
Latest News
Beginning Work
Window Removal
Metal Removal
Engine Removal
The Mad Max Interceptor
The Mad Max Movie
That Incredible Blower
Finished Replicas
XA to XC Falcons
Contact Me
My Wife's Incredible 1966 Mustang
My Custom Car Parts Company
Customizing Corner Message Board
Links

windowremove.jpg

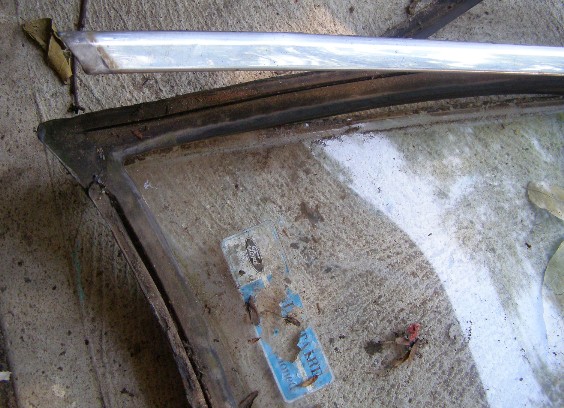
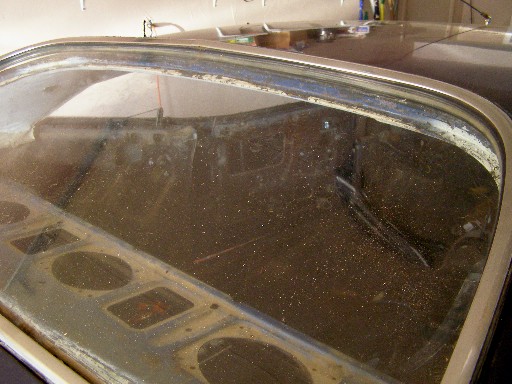
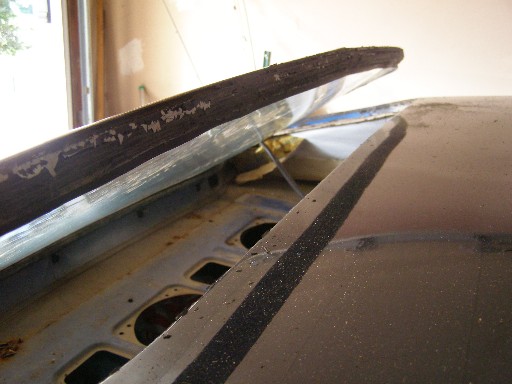
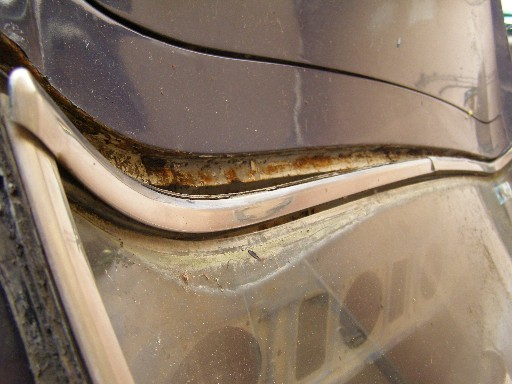
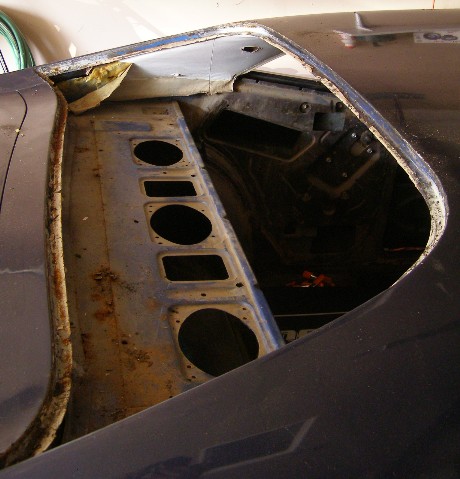
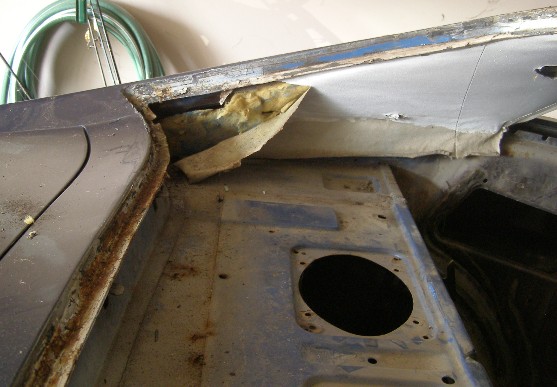
The rear window, or backlight, had to be removed in order to remove the headliner, the only interior part that hadn't been removed yet. Originally I wasn't going to cut the seal knowing that the new replacement seals had a reputation for being too large. I was just hoping my seal was still in good order.
 
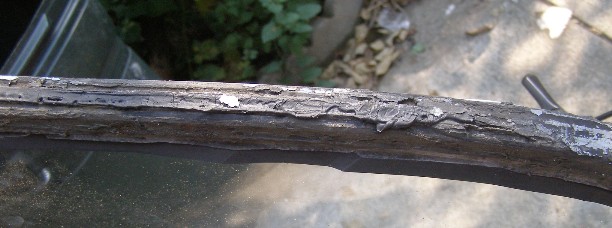
I ended up cutting the seal after learning that a good fit seal was in fact available. Another point made to me is that a replacement backlight, if I broke it, would cost thousands to replace and this part is not being reproduced. Well I certainly didn't destroy anything by cutting my seal as evidenced in these pictures.

rearseal3.jpg

rearseal1.jpg

The seal is different from the early Mustangs in that the stainless steel trim actually nestles down into a slot provided for it IN the seal itself. The trim then hooks under the glass to keep it secured. The trim has to be fitted into the seal before the window and seal is put into place.

rearseal2.jpg

Once the seal was broke loose it wasn't too difficult a job. The window sill on the car is in GREAT shape. Just some light surface rust and cracked paint from heat and water. It looks kind of bad because it needs to be cleaned up, but I was very happy to find this part of the car solid!

rearloose1.jpg

rearloose2.jpg

rearloose3.jpg

rearsill1.jpg

rearsill2.jpg

Here's a picture of what's left of the factory "Selectaire" air conditioning sticker that was placed in the lower left hand side of the rear window.

selectaire.jpg

next1.gif