Home
How This Happened
Getting It Here
I Bought It
It Lands In The USA
It's here!
First Year Fun
So Now What?
Additional Parts
Latest News
Beginning Work
Window Removal
Metal Removal
Engine Removal
The Mad Max Interceptor
The Mad Max Movie
That Incredible Blower
Finished Replicas
XA to XC Falcons
Contact Me
My Wife's Incredible 1966 Mustang
My Custom Car Parts Company
Customizing Corner Message Board
Links

Moving on to the front windscreen I removed the trim much the same way as on a first generation Mustang by lifting clips under the trim with a special tool to release the it. The clips across the top are different from the Mustang clips, but the clips down each side are the same. Then to remove the bottom piece of trim you have to remove the cowl panel and then unscrew the hold downs that secure the trim pieces.

lowertrim1.jpg

This picture shows a close-up of a rubber spacer and how it is secured that spaces the bottom edge of the windscreen off of the bottom of the window sill. Everything that is not blue in color around the wiper mount is original paint of the car, not rust.

spacer.jpg

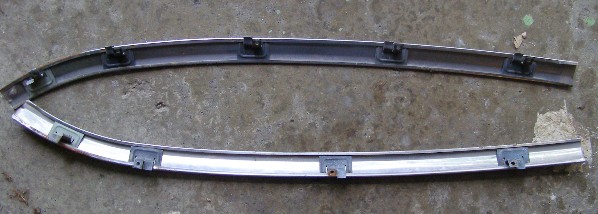
Here's the underside of the bottom trim. The securing brackets slide in a track on the underside. 
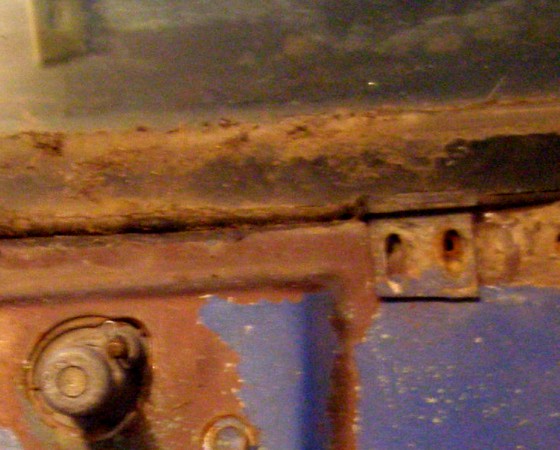
Everything is in good shape.

lowertrim2.jpg

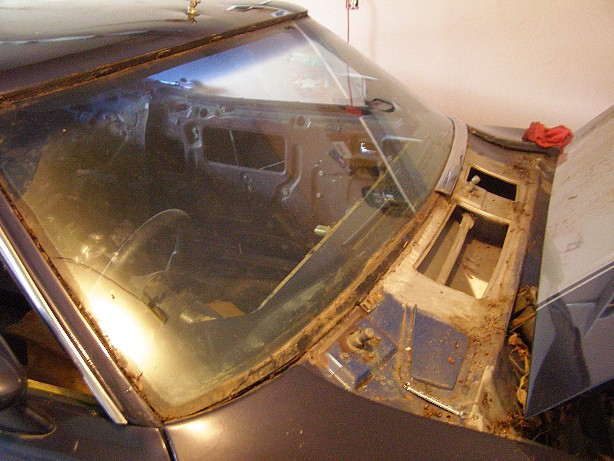
The next step was to cut the sealant around the windscreen with wire. I did not get piano wire as recommended, I got 27 gauge wire from Home Depot. When I tried it the wire broke almost right away. I resorted to using a putty knife to jam in between the glass and the sealant, working my way all around the glass. It seemed to work fine and the window came out with no problems.

windshield1.jpg

next1.gif