Home
How This Happened
Getting It Here
I Bought It
It Lands In The USA
It's here!
First Year Fun
So Now What?
Additional Parts
Latest News
Beginning Work
Window Removal
Metal Removal
Engine Removal
The Mad Max Interceptor
The Mad Max Movie
That Incredible Blower
Finished Replicas
XA to XC Falcons
Contact Me
My Wife's Incredible 1966 Mustang
My Custom Car Parts Company
Customizing Corner Message Board
Links

dashing.jpg

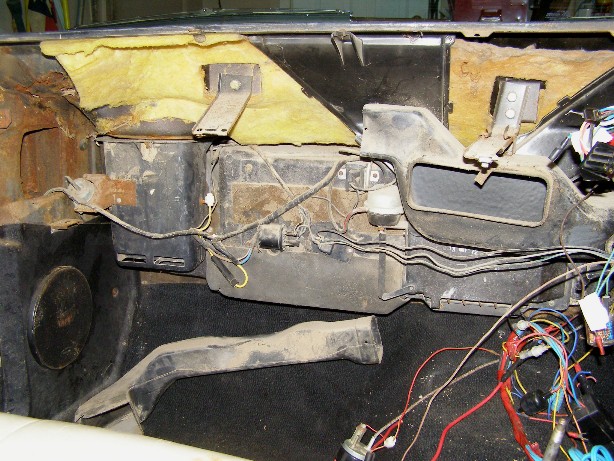
I started by removing the dash. I wanted to see if I had any holes through the cowl as is the same common problem with old Mustangs and sure enough I do have holes. This is going to mean removing the cowl body panel and then drilling out the spot welds that hold the cowl together in order to get inside the cowl to remove all the rust, cut out the weakened area, and then fabricate new pieces to weld in.

holeleft.jpg

Underneath the dash was a snarl of wires. One or some of the previous owners have spliced in to add stereo components and a remote temperature gauge, and who knows what else! 

dashleft.jpg

dashright.jpg

I was sure to label all the wires as I disconnected them from the dash instruments. After removing the dash I further disassembled it and cleaned it enough for storage. The dash pad had another nighmare waiting for me under the "custom" cloth cover.

next1.gif